Grease Trap Cleaning
Grease traps must be cleaned every 4-6 weeks. An unmaintained grease trap does not stop any grease waste from entering the sanitary sewer or septic system. Grease blockages can ruin a restaurant in minutes from back-ups. Sanitizing a restaurant from a grease backup will shut your restaurant down for at least two days.
Self cleaning a grease trap can turn into your biggest nightmare. Hire a reputable cleaning service company (frequently plumbers) to be sure the grease trap waste is disposed of in a regulated fashion.
Grease Trap Cleaning Tools
The grease trap cleaning tools are illustrated in the photo above.
- Gas Mask - you will be sorry if you avoid wearing one
- Rubber Gloves - the messiest job you will ever undertake
- Coveralls - if you don't wear coveralls throw your clothes away after
- Crow Bar, Scraper, Wrench - Crowbar to remove lid, scraper for cleaning tank & baffles. Some grease trap lids require a Wrench
- Bucket & Scoop - both used for removing sludge and liquids from tank
- Shop Vacuum - A must to remove grease waste and liquid from tank
Grease Trap Parts
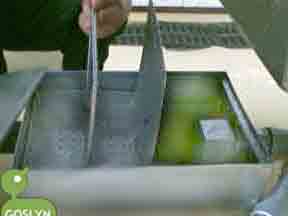
Grease trap lids usually are removed with a crow bar. Some grease trap lids are attached with bolts. Moulded Plastic trap lids usually snap off.
Grease trap baffles separate the flow of waste water in a grease trap tank. Fats, oils, and grease (FOG) are lighter than water. FOG rises to the top of the tank allowing cleaner water to pass thru the trap before entering the sanitray sewer.
Cleaning Procedures
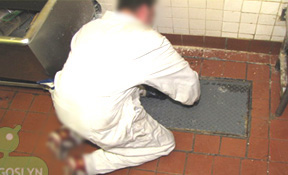
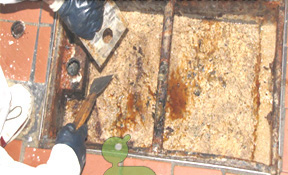
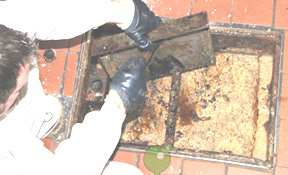
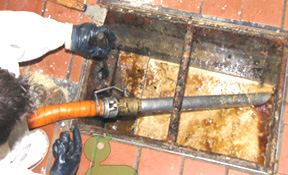
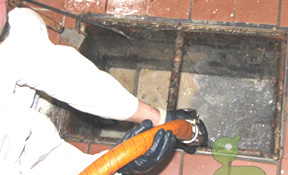
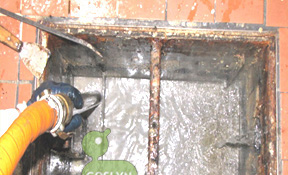
Before you clean your grease trap, you must wait for the water to cool inside the trap. Wait ten (10) minutes after emptying the waste water from the 3-compartment sink or automatic dishwasher.
The first step removing the lid. Be careful of your head as most grease traps are under the 3-compartment sink.
Grease sludge forms at the top of the tank. The grease sludge must be bailed off the top. It is not uncommon to have the grease sludge over two inches thick.
The remaining contents of the grease trap must then be bailed out. A Shop-Vac is very handy for this task.
When the grease sludge and liquids are removed from the grease trap tank the lid, sides, and baffles must be cleaned with the scraper.
Be sure to remove all grease sludge from the intake and outake outlets (pipes) in the tank where possible. This step has better results if performed by a grease trap cleaning service company.
To test that the water is flowing smoothly to the grease trap, drain approximately a gallon of clean cold water from the 3-compartment sink. Check the trap that the water is flowing thru the trap. If the water does not flow thru, the intake pipes are likely blocked. The grease blockage must be snaked out by a plumber.
Replace the baffles, and the lid. Be sure to dump the contents from the pail into a double-lined garbage bag. Kitty litter may be helpful to solidify the grease sludge. The grease sludge must be put into the appropriate garbage bin.
Inspect the Grease Trap Before the Lid is Closed
Short-Cuts are often taken by the Cleaning Service


